
Apple Hand Pies
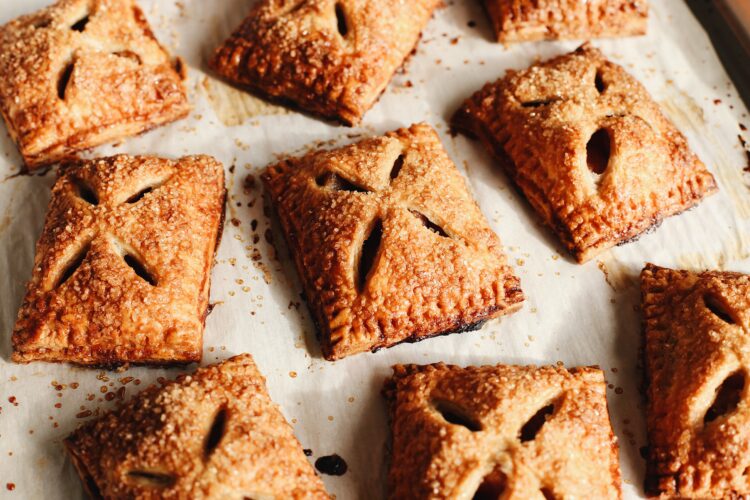
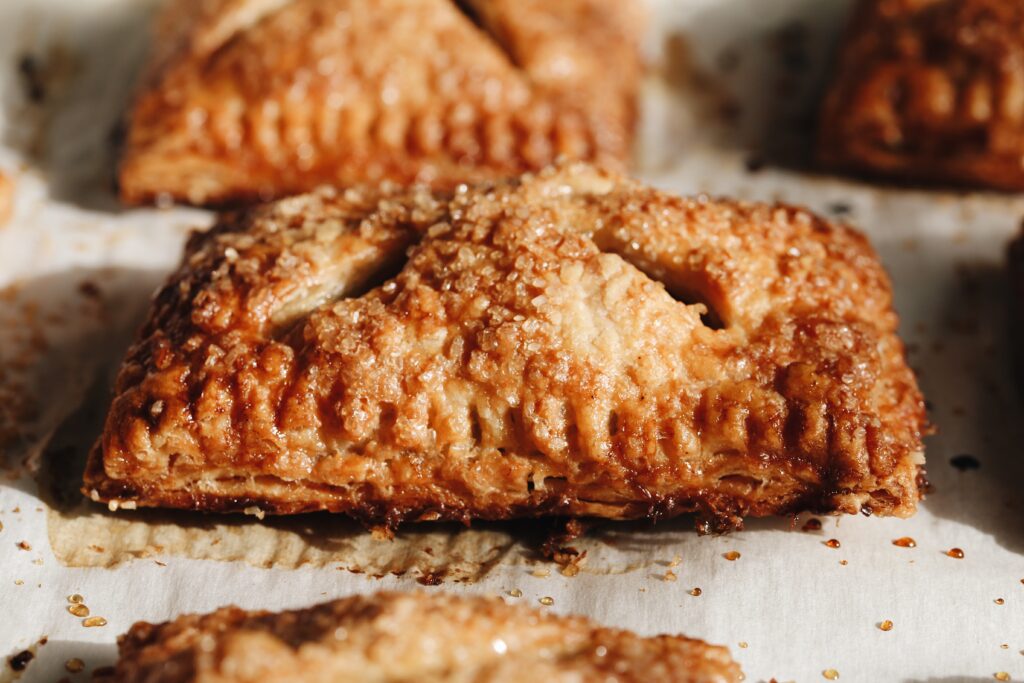
Apple hand pies are hands down my NUMBER ONE bake EVER. Time and time again, this is the top baking request I receive from friends and family, even above cookies! There’s just something about the cute little hand held size, that amazing super flaky and tender pie crust, the extra crunch from the raw sugar topping, and the burst of fall flavors and spices of the cooked apple pie filling. The color is absolutely perfect and the filling is soft yet the apples still have a bite to them. Trust me, these NEVER fail to impress. Multiple people have told me they are THE BEST apple pies they’ve ever had!

Funnily enough, when I was younger, I would’ve never thought that one of my all time fave treats would be apple hand pies! I never even liked pie as a kid (I KNOW, CRAZY!)! Cooked, warm fruit?! No thanks! But when I started my baking journey years ago, I kept seeing photos of beautiful pies and just knew I had to learn how to make them! It was certainly a learning curve teaching myself how to make the best pie crust, hydrating it just enough and learning how to handle it in order to achieve a flaky and tender crust! And somewhere along this journey, I fell in love with the classic dessert.
So although I love pies of all types now, I will always choose gorgeous hand pies over the classic pie. This is because of that wonderful, magical pie crust-to-filling ratio! SO MUCH FLAKE. SO MUCH GOODNESS. And the perfect amount of filling! Plus, no need for plates and silly utensils haha!
So keep reading below to access ALL of my special tips and tricks to making the best apple hand pies EVER!!!!! Happy baking! xx

What You’ll Need
Equipment
- Food scale
- Mixing bowls
- Bench scraper
- Plastic wrap
- Rolling pin
- Pastry brush
- Baking sheet
- Parchment paper
- Frying pan
Ingredients for apple hand pies
- all purpose flour
- granulated sugar
- salt
- unsalted butter
- apples (i like using a mix of granny smiths and honeycrisp)
- brown sugar
- ground cinnamon
- ground nutmeg
How To Make Apple Hand Pies
Pie Dough
The foundation of successful Apple Hand Pies is a good pie crust, literally. It not only holds the delicious filling in place, but its buttery, tender, and flaky profile makes this pie a real winner! The star of this pie is definitely the luscious apple filling, but if paired with a tough, chewy, and thin, flake-less crust, it can never shine as bright!
This is why I’ve written an entire blog post on how to make the most flaky and tender homemade pie crust! And once you get the hang of it, it’s SO simple and easy!
Split up your work flow: Whenever I’m making a dessert I like to plan ahead (when possible!) and break down the steps as much as possible to make for an easier and cleaner work flow. Some recipes like brownies or certain cookies don’t require too many steps, so they don’t need much planning. But desserts like pies and pavlovas include many steps that may make the recipe seem intimidating or too complicated at first. This is why I like to split up the work to at least 2 days:
- First day: make pie dough AND apple filling and chill it in the fridge overnight, or up to 3 days.
- Second day: roll out dough and cut. Assemble hand pies and bake.
Splitting up your work like this not only makes everything easier and faster, but it leaves you with a lot less mess!
Apple Hand Pie Filling
One of the KEY aspects to this delicious apple hand pie recipe is the pre-cooked filling!!! It is pan fried for about 5 minutes with butter and a delicious mix of brown sugar and spices! The cubed apples soak up all the deep caramel-y flavors and become perfectly soft without being mushy.
Heat up a medium frying pan, melt butter in it, and then toss in the cubed apples to coat with butter. Add brown sugar, salt, and spices, mix well and cook for about 5 minutes, until apples are softened. Remove from heat, place apples in a shallow plate along with all the juices, and let cool completely! I usually make this the night before I need it, covered and chill in the fridge!


Roll + cut pie dough
When ready to bake, preheat the oven to 425 degrees F. Remove one of the discs of pie dough from the fridge and let rest on counter for 5 minutes to take the chill off if needed.
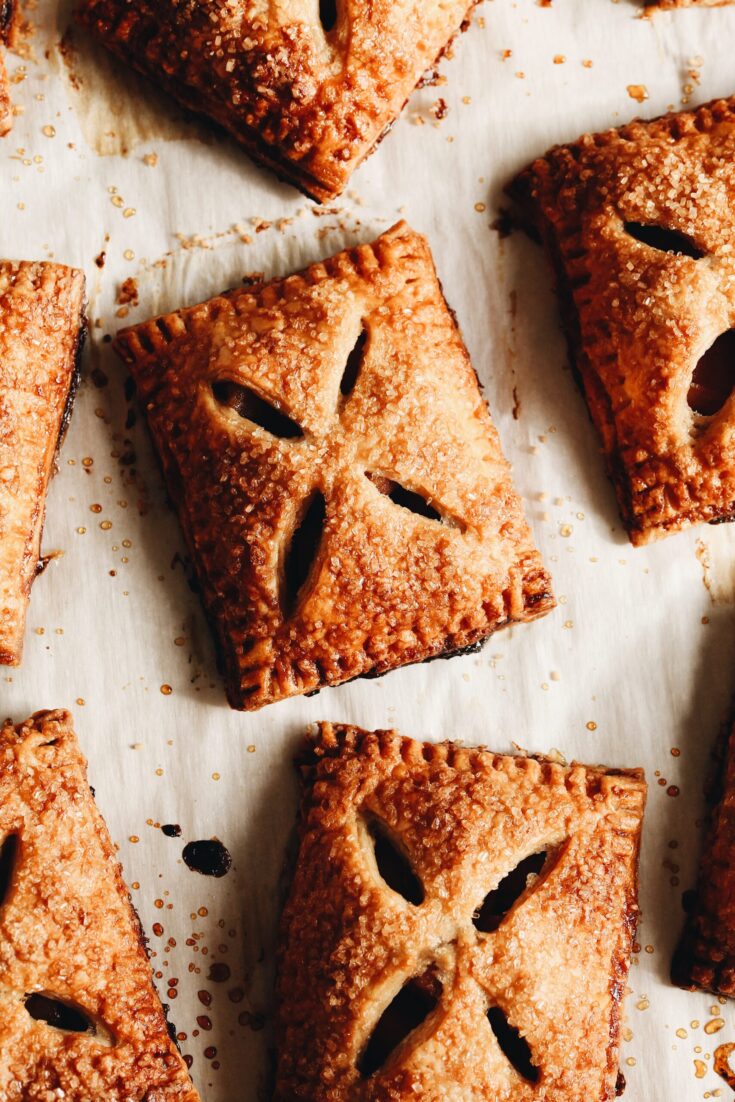
On a well floured surface, start gently rolling out the dough, picking it up and rotating it after every few rolls to keep it from sticking. Roll to about 1/8 inch thickness and cut into desired shapes. For the pies pictured here, I cut them into about 3×4 rectangles. You can use a 3 inch cookie cutter for circles. Any excess can be piled on top of each other, gently re-rolled and cut again.
TIP: Place all cut pieces of dough onto a small baking sheet and chill in freezer while you repeat the ROLL + CUT process for the other disc of dough to keep everything NICE AND COLD.
Assemble + Bake
In a small bowl, whisk together egg and milk or water for egg wash. Take a couple pieces of cut pie dough out of the freezer at a time to work. Cut vent slits onto one piece of pie dough. Then on another piece, brush the edges lightly with egg wash, spoon about 1 1/2-2 tablespoons of apple filling onto the center. Then, place vented piece on top, press down lightly on the edges, then crimp along all the sides with a fork to seal completely. Place each assembled hand pie on a parchment lined baking sheet and place in fridge to cool as you finish assembling all hand pies. When all hand pies are assembled, place entire tray of them into freezer to chill for 10 minutes.
Place all hand pies on an XL baking sheet lined with parchment paper so they can all bake at once. Brush each pie with egg wash and sprinkle with turbinado sugar. Bake for 23-27 minutes, until hand pies are deeply golden brown. Remove from oven and let cool before enjoying!


Other recipes to try!
home sweet (potato) home hand pies
Nutella Chocolate Chess Pie
strawberry cardamom hand pies
Best Ever Apple Hand Pies
A wonderful American classic, but better! There apple hand pies are served in perfectly sized flaky and tender, flavorful vessels!
Ingredients
For pie dough
For apple filling
- 3-4 medium apples (mix of granny smith, honeycrisp, envy), peeled is desired, cut into half inch cubes
- 4 TB (56g) unsalted butter
- 1/3 c (65g) brown sugar
- 1/4 tsp salt
- 2 tsp ground cinnamon
- 1/2 tsp ground nutmeg
For egg wash + topping
- 1 egg
- 1 TB milk or water
- Raw turbinado sugar
Instructions
Make pie dough
- Follow my best flaky pie crust recipe and chill pie dough for at least 2 hours or overnight.
Cook Apple Filling
- Heat a medium frying pan over medium heat. Melt butter and then add cubed apples and stir. Add brown sugar, salt, cinnamon, and nutmeg, then stir to evenly combine and cook.
- Continue cooking apples, stirring frequently, until apples are softened (not mushy), about 4-5 minutes. Remove from heat and pour apples onto a shallow plate to cool completely. Apples can be cooked up to 2 days in advance, covered and placed in fridge until needed.
Roll + cut pie dough
- Preheat oven to 425°F
- On a well floured surface and with a floured rolling pin, start gently rolling out one disc of pie dough, keeping the other half in the fridge. Rotate the pie dough every few rolls to make sure it's not sticking. Add more flour if needed. Work quickly to prevent butter from melting.
- Roll out dough to about 1/8 inch thickness, and cut into 2-3 inch rectangles, squares, or desired shape. You can use 3 inch cookie cutters for circles. Place cut out pieces onto a small baking sheet and place in freezer while you repeat the process of rolling/cutting with the other half of the dough.
Assemble + Bake
- In a small bowl, beat egg with milk or water.
- Take one cut pie dough piece and make vent hole slits with a knife. One another cut pie dough piece, brush the edges with a bit of egg wash, spoon about 1 1/2 tablespoon of apple filling onto the center, top with vented pie dough, press edges lightly to seal, then seal all around the edges by crimping with a fork. I like to place assembled hand pies onto a baking sheet in the fridge to keep cool as I work on assembling the rest. When all hand pies are assembled, place entire tray of them into freezer to chill for 10 minutes.
- Place all hand pies on a large baking sheet lined with parchment paper (I use an XL baking sheet so I can bake all pies in one batch).
- Brush each hand pie with egg wash and sprinkle with turbinado sugar. Bake for 23-28 minutes, until hand pies are deeply golden brown. Remove from oven and let cool before enjoying!
- Extra hand pies can be stored in an air tight container at room temperature and ideally reheated in a toaster oven.

 Based on 1 Review(s)
Can you make these ahead of time to freeze? How long would they keep in the freezer?