About a year ago, when I started seriously baking/taking photos for this blog and Instagram, I usually felt like I had a pretty good instinct when it came to cooking/baking. While this is slightly true for my cooking, I was definitely wrong when it came to baking. Baking turned out to be a lot more scientific than I anticipated. I’ve always been a very type B kind of person– I like to haphazardly throw things together. A sprinkle of that, a dash of this. This doesn’t work too well in baking.
Growing up in a Chinese household, the oven was always used as a storage space for pots and pans. It was just a place for the wok to live in. So when my sister and I got a little older, the only baking that happened occurred in the toaster oven and the contents of those bakes came from a box from the grocery store. We quickly fell in love with the ease of picking up boxed cakes, brownies, and cookies. I was also introduced to store bought frosting. The thickness and overly sweet flavor usually caused my nose to wrinkle up. I feel a cavity coming on just thinking about it. Don’t get me wrong, I definitely have a sweet tooth. But when it came to frosting, I was much more used to light and fluffy, whipped frostings that weren’t too sweet! Think Asian bakery birthday sponge cakes.
So back to a year ago. I wanted to make amazing chocolate cupcakes and then pipe amazing silky, light frosting on top. The photos would be incredible. Spoiler alert: they weren’t. I’d followed the recipe to make the buttercream but upon piping it, I found it to be stiff, full of air bubbles, and very hard to pipe!

The lesson I learned from this experience is that before attempting any new recipe, I will always do extra research! I’ll look up youtube videos that show the process and read extra lit on any tips and tricks others have! I also don’t know how I failed to send a quick text to my sister first to ask her for her smooth buttercream advice! She makes amazing cakes and her piping skills are beyond me.
Anyway, now that I’ve learned how to make the fluffiest, silkiest, smoothest, most pipe-able, most spread-able, and EASIEST American buttercream, I decided that it deserved an entire post all to itself! And yes, we’re talking about AMERICAN buttercream here because we’re keeping things as easy and simple as possible!
Now even though this is extremely easy to do, there are SO many tips that it warrants a full post. Following these tips will FOR SURE make a significant difference in the texture and taste of your buttercream, if you’re not already employing them!

INGREDIENTS:
yields about 2 1/2 cups of buttercream frosting
3/4 cup (1 1/2 sticks) unsalted butter, room temperature
1 1/2 cup powdered sugar
1 teaspoon vanilla extract
1 tablespoon milk (if not adding any other liquid)
Talking about add-ins:
This is the recipe for any buttercream BASE. From here, you can add pretty much anything you want to flavor it. If you’re making a fruity buttercream such as strawberry or blackberry, you have a couple options. Easy option: add 2-3 tablespoons of store bought fruit preserve of your choice. You can also add homemade jam. Sometimes I will puree the fruit, fresh or frozen, and cook it down in a small saucepan until it’s a lot thicker. This gets cooled in the fridge and added to the buttercream!
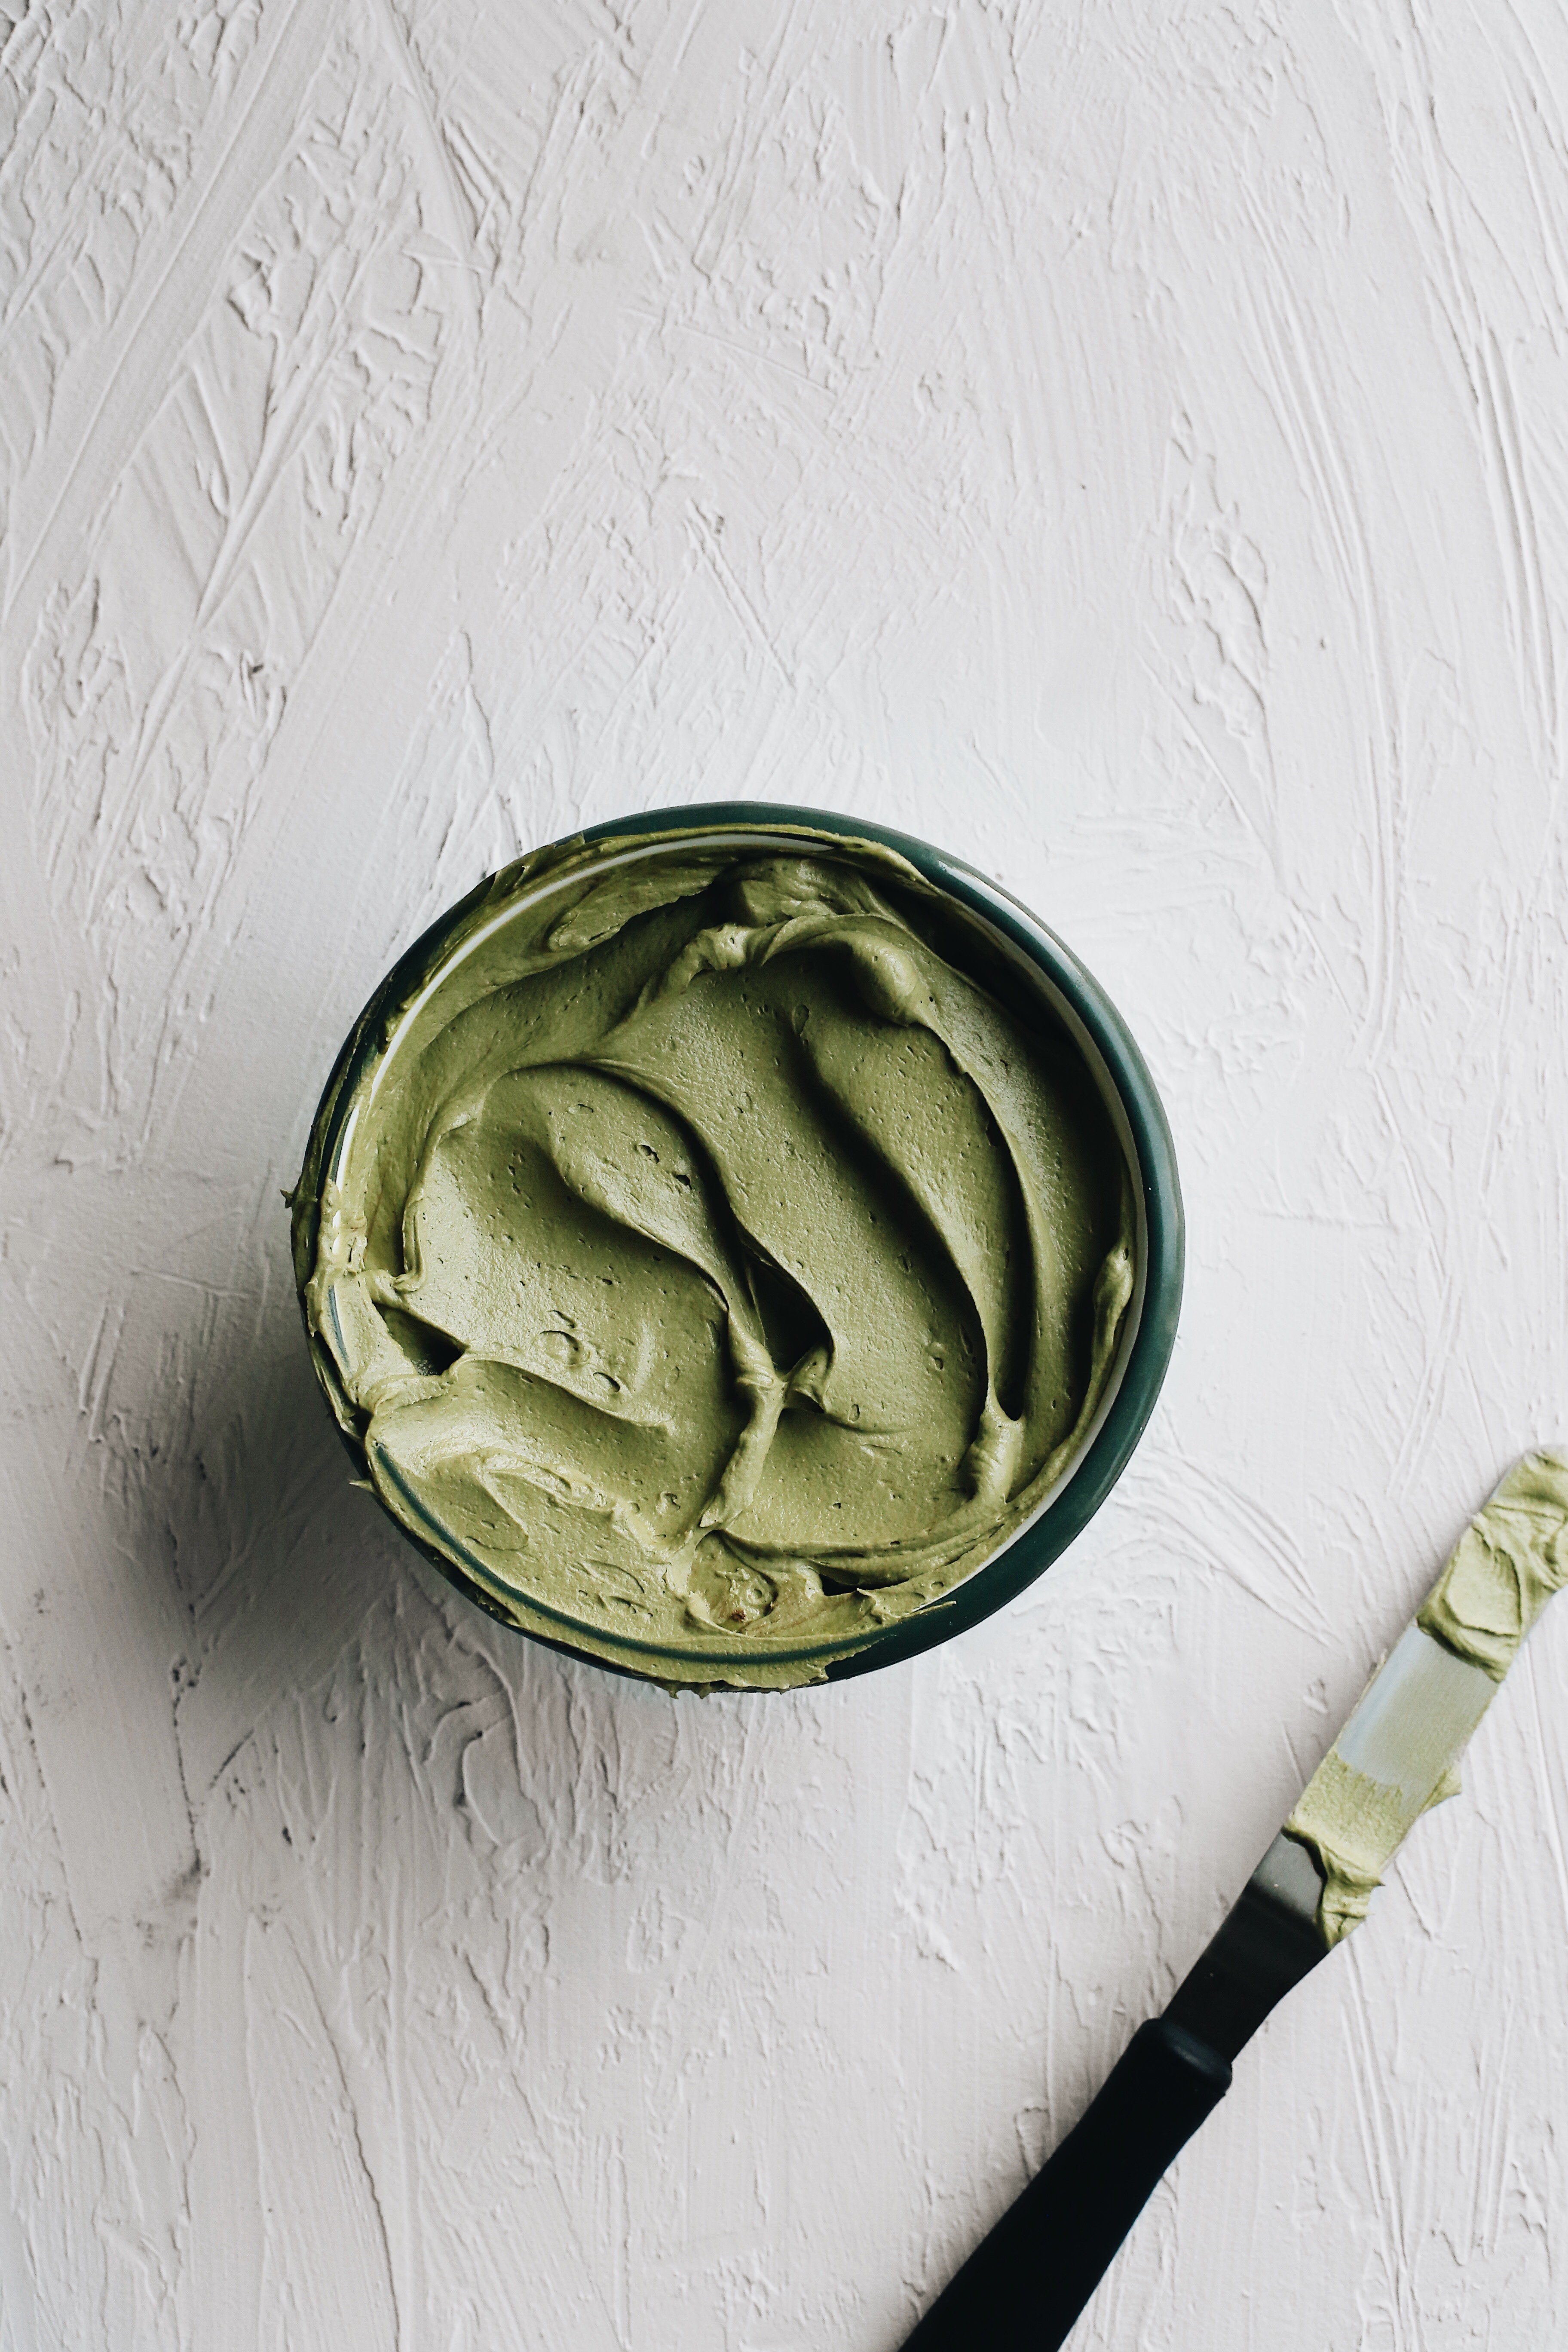
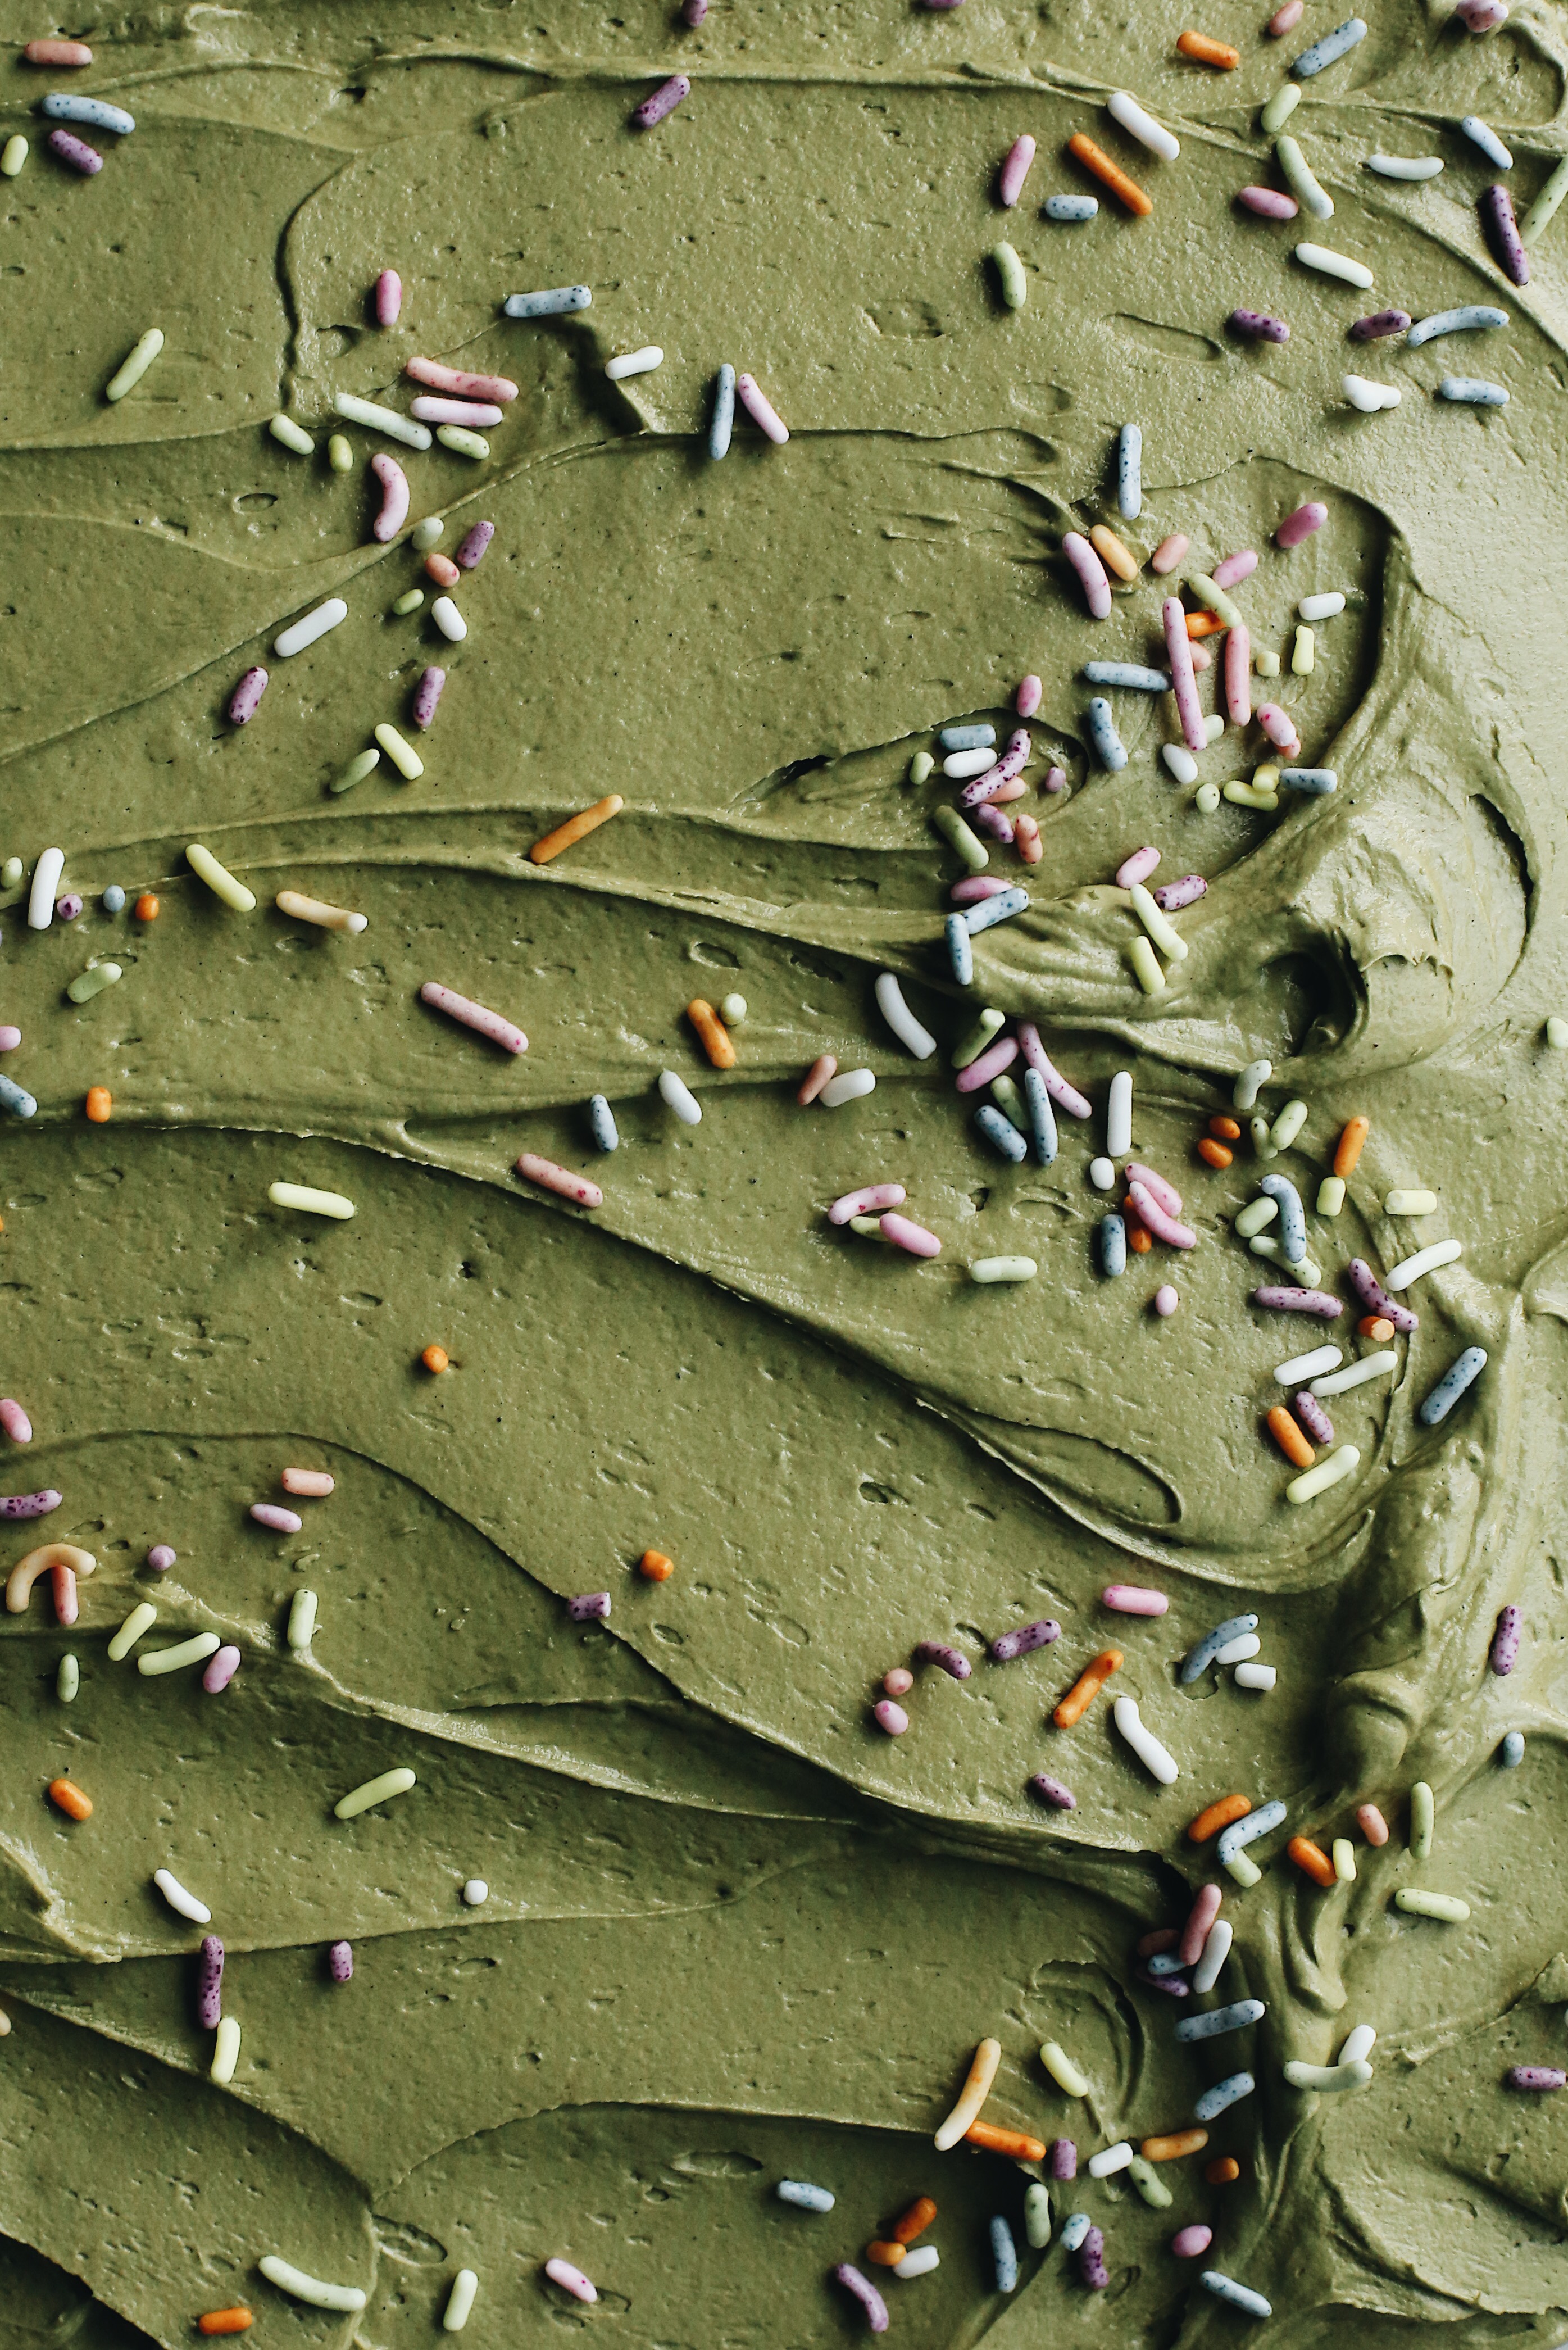
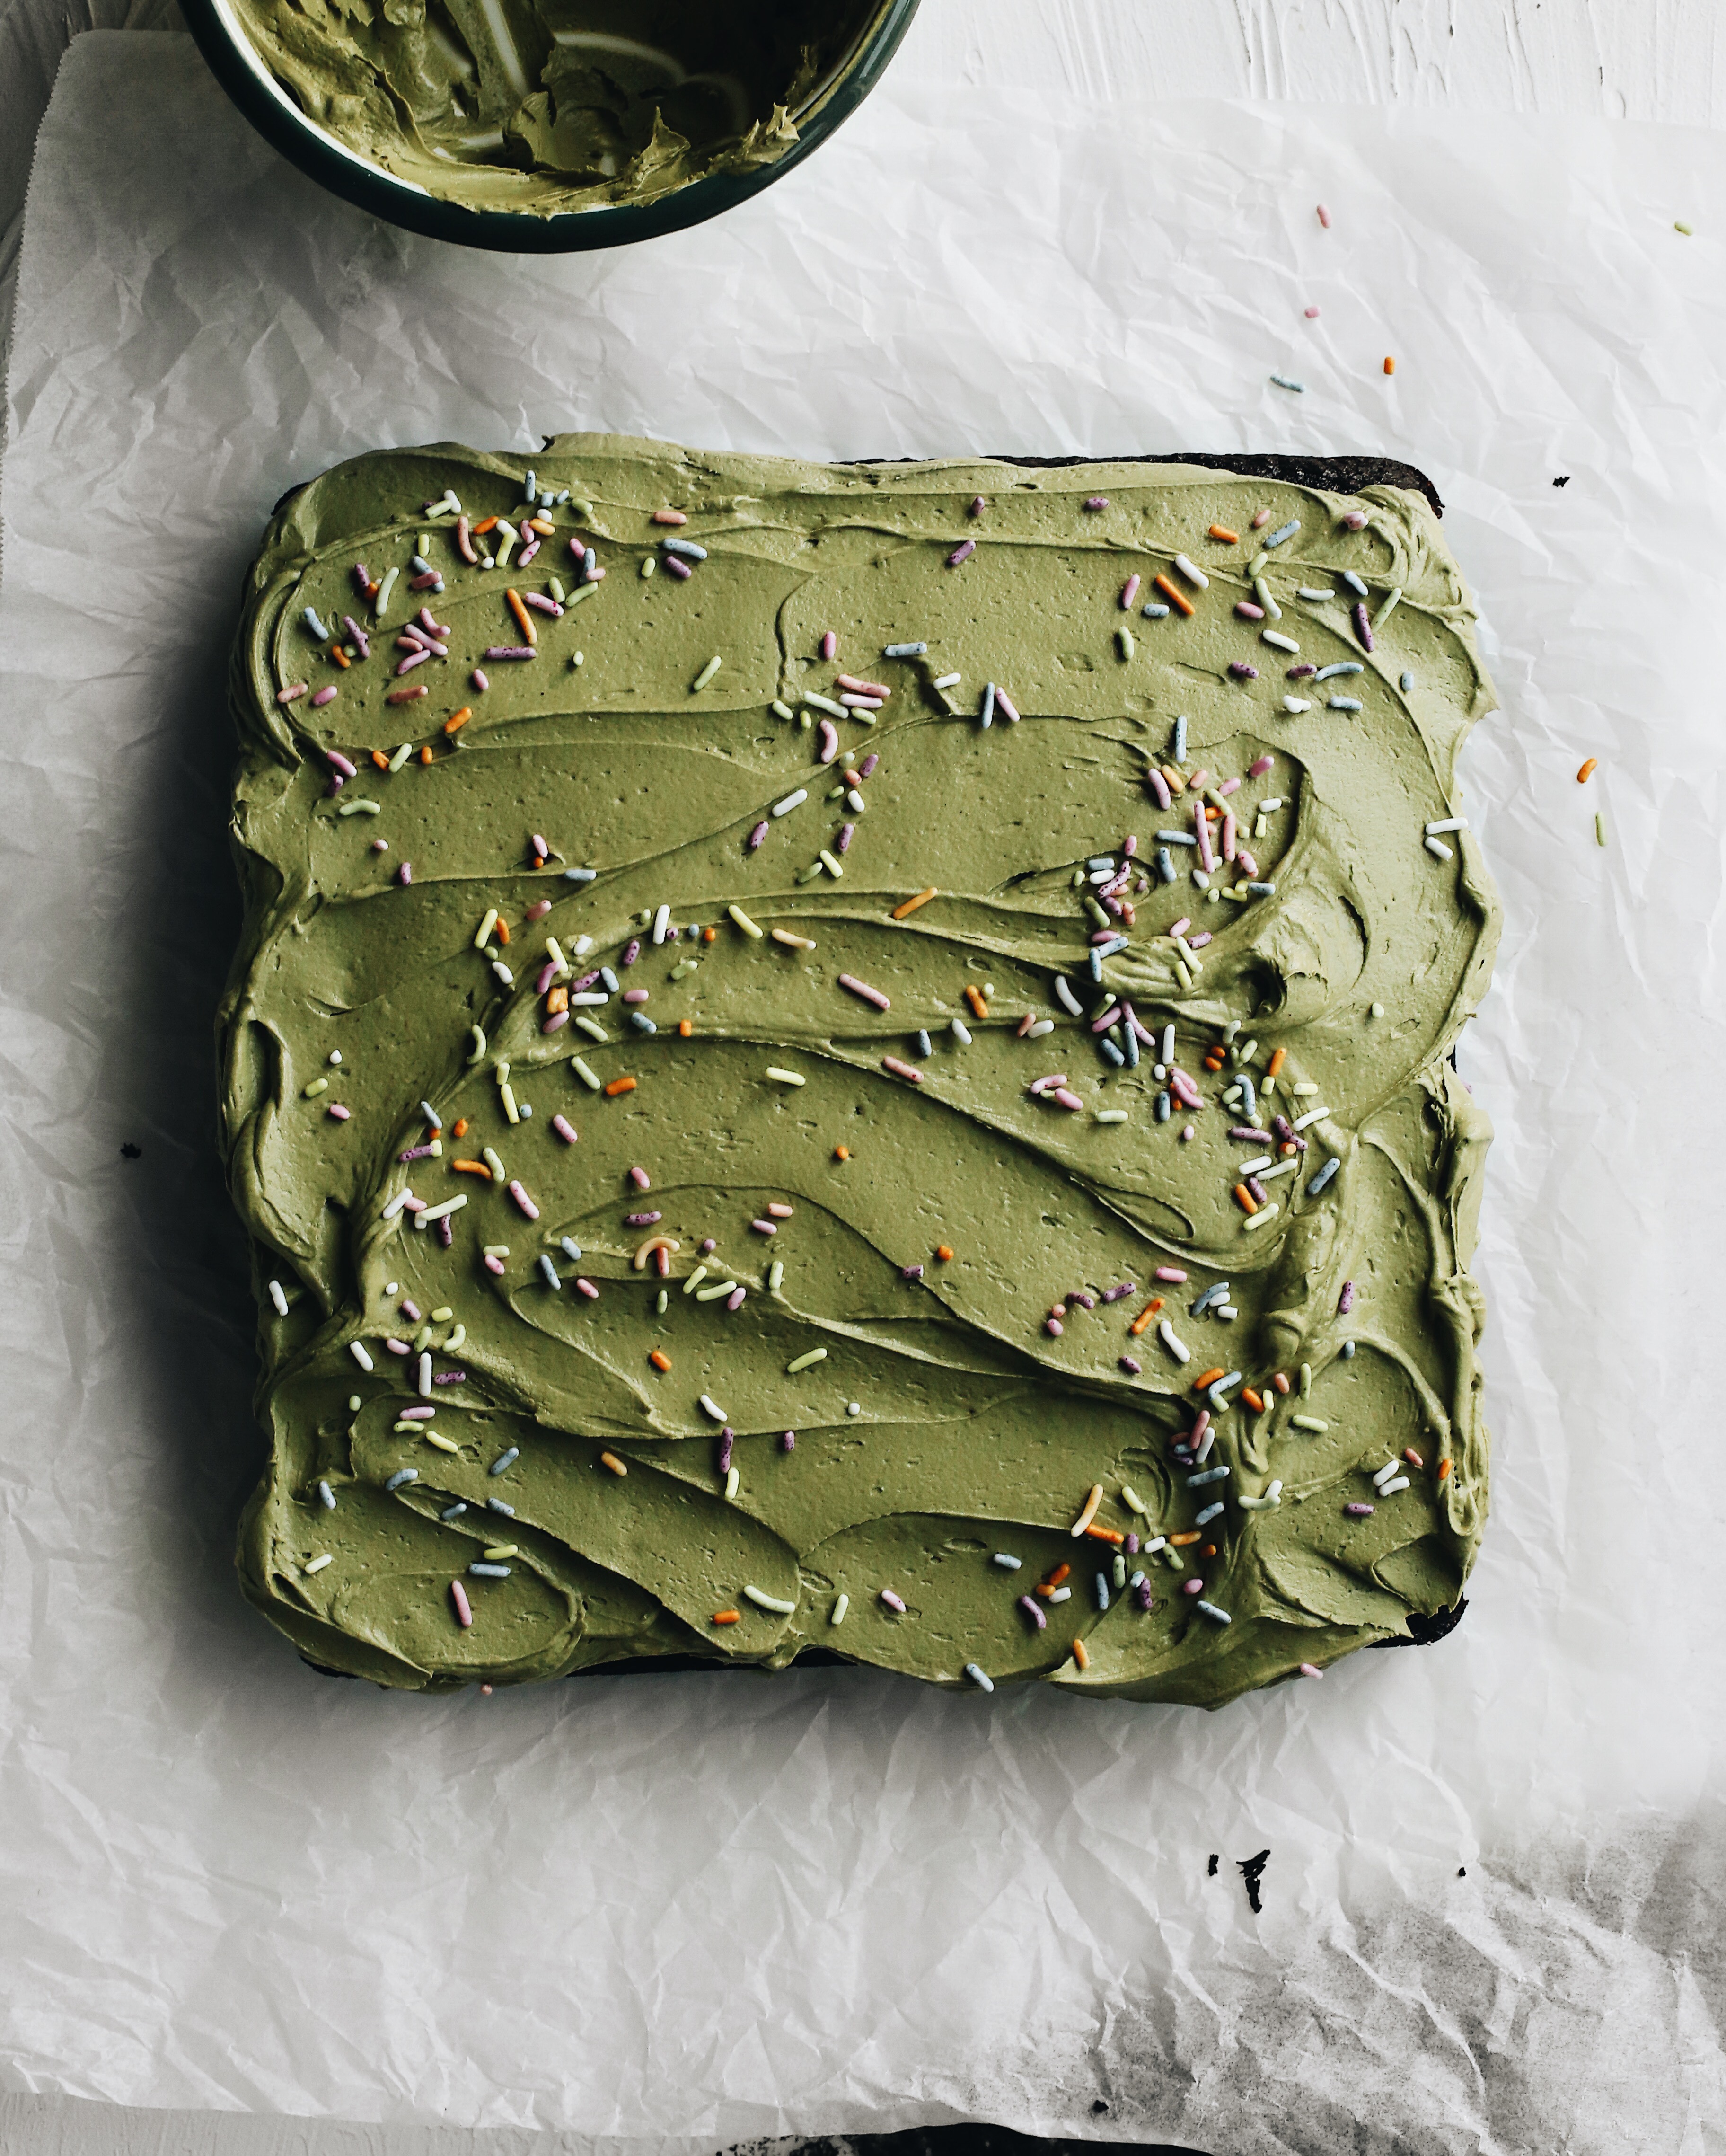
Photographed here is my favorite matcha buttercream! My only additions here were 1 1/2 tablespoons of matcha powder and 1 tablespoon of cocoa powder.
Now that we’ve covered the how-to’s on add ins, let’s walk through how to put it all together!
INSTRUCTIONS:
One of the most important steps is to start with completely room temperature butter. Try to actually bring your butter to room temperature by leaving it out at room temp for a few hours. Depending on the temp of your house, you could leave it out overnight. In the winter, I prefer leaving it out overnight. But it gets way too warm in the summer! Try not to microwave you butter because even on low power, it will tend to warm up unevenly and you’ll end up with melty puddles of butter and that won’t work here.
We want butter that is still solid but is soft and can be indented easily with your finger. If you’re slightly crammed for time, you can speed this process up slightly by chopping the butter into cubes and placing it on a plate at room temperature.
The milk and everything else that you are going to add to the buttercream should also be at room temperature or pretty close to it. Although, nothing should be warm at all.
I use a stand mixer because it makes everything in my life so much easier. But if you don’t have one, you can definitely use an electric hand mixer. But there’s no way you can achieve this by beating it with just your hands.
Put your butter in the mixing bowl. If using stand mixer, use the paddle attachment. Beat the butter on high until light and fluffy, about 3 minutes. Add the powdered sugar in 3 additions, 1/2 cup at a time. ** Important tip here: scrape down the sides of the mixing bowl, add 1/2 cup of powdered sugar, mix on low until most of the sugar is incorporated, then beat on high for 2-3 minutes before adding more powdered sugar. Do this for each addition. This will not only help to fully and evenly incorporate the sugar, but will also result in a much smoother, silkier, and fluffy buttercream.
Now, add vanilla and beat until incorporated. Add milk or other liquid and beat for a minute, scraping down the sides of the bowl as you go. Beat in any powdered add ins at the point and you’re done! The buttercream should be smooth and fluffy. It should be able to hold its shape. If it’s slightly too thick, add more milk or other liquid 1/2 tablespoon at a time until consistency is as desired. If it’s too runny, add powdered sugar 2 tablespoons at a time.
For the best results, use this buttercream right away! Pipe it, spread it, dollop it. It’s amazing.
*Tip: this is especially important if you are piping the buttercream: gather the finished buttercream into a medium sized bowl. With a rubber spatular, spread the cream out on the sides of the bowl, flattening it and folding it together again. This will help to take the air bubbles out.
If you need to save this for later or the next day, you can cover it with plastic wrap touching the surface of the buttercream and place it in the fridge. When ready to use, bring it close to room temp and for best results, you’ll have to whip it up again!


